

Installing Windows 11 on a Mac can be done using Boot Camp Assistant for Intel-based Macs or Parallels Desktop for M1 and M2-based Macs. Here’s a step-by-step guide for both methods:
For Intel-based Macs using Boot Camp Assistant:
- Check System Requirements: Ensure your Mac meets the Windows 11 requirements and has at least 64GB of free storage.
- Download Windows 11 ISO: Get the Windows 11 ISO file from the official Microsoft website.
- Open Boot Camp Assistant: Launch Boot Camp Assistant from the Utilities folder in Applications.
- Create a Partition: Use Boot Camp Assistant to create a partition for Windows 11. Allocate at least 64GB of space.
- Install Windows 11: Follow the on-screen instructions to install Windows 11. Your Mac will restart and launch the Windows installer.
- Install Boot Camp Drivers: After Windows 11 installation, Boot Camp will prompt you to install necessary drivers12.
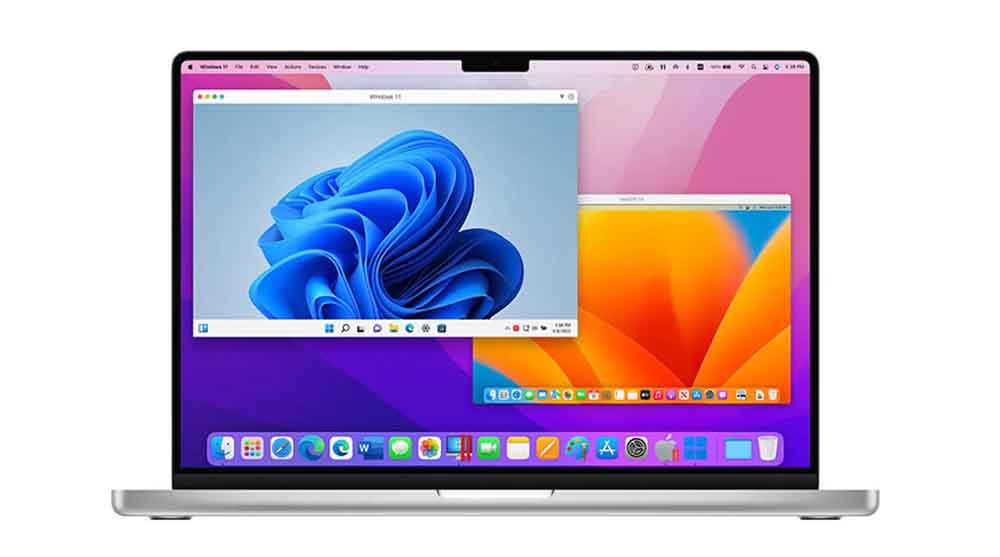
For M1 and M2-based Macs using Parallels Desktop:
- Download Parallels Desktop: Install Parallels Desktop from the official website.
- Get Windows 11: Open Parallels Desktop and select “Get Windows 11 from Microsoft” to download and install Windows 11 automatically34.
- Install Windows 11: Follow the prompts to complete the installation.
Tips:
- Backup Your Data: Always back up your important files before starting the installation process.
- Check Compatibility: Ensure your Mac model is compatible with the chosen method.
- Keep Power Adapter Connected: Ensure your Mac is plugged into power throughout the process to avoid interruptions.
Would you like more detailed instructions on any specific step?